Posting an extremely old draft.. took a long time coz I could not find the photographs until now! But its one of my favorites!!
I love Biryanis!! The best one... is my mother's of course!
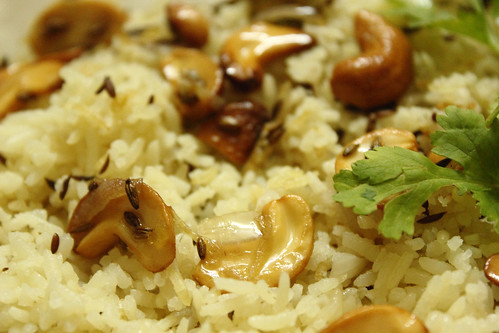
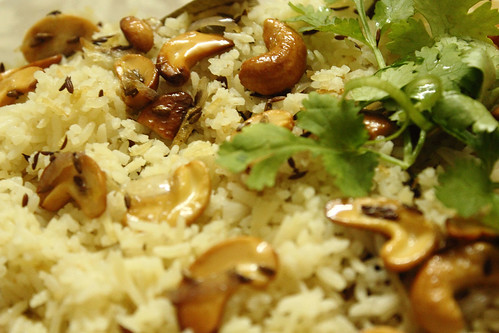
I like the biryanis from Kerala more than the popular North Indian or Hyderabadi varieties coz its so much more flavourful, fragrant and well, not bland. Every spoonful is like a burst of new flavours from the fried onions, the cashews, the raisins, the slowly cooked and well marinated chicken, the mint leaves, the saffron, the spices like cardamom, cinnamon, cloves and star anise.... its simply mouth watering!!
When I used to work in Technopark, Trivandrum, there was a restaurant that had opened up called Dhariya's at the Kazhakootam junction. They only served authentic Malabar Dum Biryani. It was the only biryani I have enjoyed after my mom's own. They also serve a drink in the end which is something like a cinnamon tea which is just awesome! I think it was called Sulaimani or was it a name given by our gang I dont remember.
Credit: So I tried my first biryani almost a year ago, just after Id-ul-fitr I think, because I remember watching Eid special shows on TV, cooking biryanis and kebabs and thats what tempted me to try this in my kitchen. The famous Qureshi family of Lucknow were all over tv making their famous biryanis. I used
Shab's cuisine recipe for most of the base but of course I have changed a lot for trying to bring it as close to my mom's recipe. Shab's cuisine cooks chicken pieces without any marination, whereas my mom marinates the chicken for a few hours, making it so tender that it just falls off the bone. So I have done the marination for chicken from my
chicken tikka masala post.
Ingredients:
For Biryani masala:
1 kg of large chicken pieces, preferably thighs, legs and breast
500g (4 ½ cups, 4-5 medium onions) thinly sliced onion
15 large cloves(4 packed Tbs) freshly minced garlic
65g (2 ½" thick piece) freshly minced ginger
330g (2 cups packed, 4 large) chopped tomatoes
20 (5 tsp) minced Green chillies (reduce if you want it less hot), you may use just 12-15 of them
½ cup Chopped Coriander leaves
10-12 fresh mint leaves chopped
22 mls (1 ½ Tbsp) freshly squeezed lime juice
½ tsp garam masala + 1 tsp extra to sprinkle on rice while layering.
4 tsp Oil (you may add more if needed)
3 cardamoms
8 cloves
4 small pieces of cinnamon sticks (1” size, thin ones)
1 ½tsp - 1 ¾ tsp Salt
For Ghee rice:
4 cups (800 g) Basmati rice
6 cups water
¾ cup onion sliced (1 medium size onion)
¾ - 1 Tbsp cumin seeds
7 cardamom pods
8 cloves
2 1” size pieces of cinnamon sticks
1 bay leaves
9 Tbsp clarified butter (Ghee), (I used 7 Tbs vegetable oil and 2 Tbs ghee)
1 Tbsp salt
1 Tbsp lime juice
1 twig curry leaves
For garnishing:
2 handful cashews
2 handful raisins (optional if you like a little sweetness)
2 medium onions sliced thin
Few drops of yellow or orange food colouring or both (optional)
Natural method of coloring:
A pinch of saffron and 4 tbsp of warm milk
A pinch of turmeric and 4 tbsp of warm milk.
Method:
Method to prepare Biryani masala:
1. Wash chicken well, place it on a colander to drain off all water. Marinate the chicken and keep aside for at least half an hour, preferably 3 hours.
2. Heat a large vessel to medium low and add oil. When hot, throw in the whole spices. When they leave the aroma (takes upto a minute on low heat) sauté chopped ginger, garlic, chillies and onions along with salt until the onions become soft and translucent.
3. At this point, add chopped tomatoes. When the tomatoes start to soften ad breakdown almost completely, add chicken and cook until almost done. All this should be done on a low heat so that onion releases its juice and chicken gets cooked in that juice slowly.
6. Add lime juice, chopped coriander and mint leaves and cook the chicken until done. Add garam masala and close lid to infuse in the flavour.
Note:
If there is lot of liquid, boil it off and reduce to a thick masala. If there is lot of water, the rice may end up overcooked.
Method to prepare Ghee rice and Garnishing:
1. Wash rice several times until you g et clear water to drain. Soak the rice for half an hour.
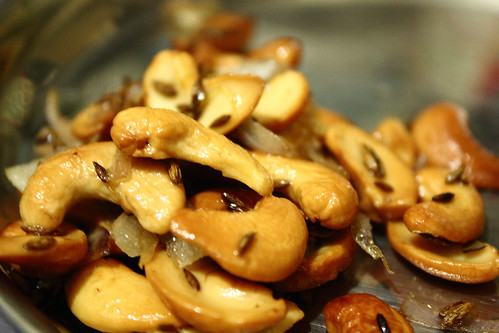
2. For preparing the garnish, in a large non-stick vessel, add oil + ghee or only ghee as mentioned in the recipe and fry the cashews until golden. Remove them and drain on a kitchen towel. In the same oil fry the raisins (if using) until they puff up and keep them along with cashews. Fry the onion until just golden and keep them with the former. The onion will get colored (will continue to cook even after you take them out, so don’t fry until brown).
3. For preparing the ghee rice, In the same vessel, add ¾ cup slice onion and sauté till the onion turn soft and translucent. (don’t brown them, that will effect the color of the rice.). At this stage add cardamom, cloves, bay leaves, cinnamon and cumin seeds and sauté for a minute until it leaves the aroma.
4. Strain the rice and tip in the rice slowly and fry for 5 minutes on high heat by constant stirring.
5. Add boiling water, salt, curry leaves and lime juice and keep boiling, by keeping the lid open until all the water has disappeared, but the rice is still wet and not dry.
6. Reduce the flame to low, Cover tightly to let all the steam in and cook it until done. In between you can flip the rice two times to ensure even cooking.
If you follow the method of preparing the rice you should get well fluffed individual rice that doesn’t stick to each other.
For layering the biryani and final cooking:
1. Using a large plate, take out 2/3 rd of the rice from the vessel and transfer it to another bowl. Leave the rest 1/3 of the rice in the vessel and level off the surface neatly using a spatula. Sprinkle a good pinch of garam masala (from the garam masala that is reserved for sprinkling) all over. If you are adding colour, add few drops of yellow or orange food colouring in 4-5 places - I've never done this. Instead, I've used saffron soaked in warm milk for a few minutes. I sprinkle the saffron and milk all over. You can also use turmeric powder and some milk for a natural yellow colour. Or use both for orange and yellow.
My mother takes a third of the rice and mixes it in the turmeric milk and mixes it back with the white rice. Its all upto you :)
2. Take half of the masala and sprinkle over the rice along with the chicken.
3. Spoon 1/3 rd of the rice again over the chicken masala. Sprinkle a good pinch of garam masala, and few drops of colouring/saffron milk/turmeric milk.
4. Add the rest half of the masala and complete the layering by spooning the last 1/3 of the rice. Sprinkle again with garam masala, and few drops of colouring/saffron milk/turmeric milk.
So now you have alternating layers of rice and masala that’s goes like this: Rice, Biryani masala, rice, Biryani masala and again rice.
5. Cover the entire vessel with foil (to ensure that full steam stays in), then close the lid tightly. Place a weight (you can also use any vessel filled with water for this) over this vessels and cook on hob top for about 30 minutes at very low heat. This is to infuse the flavour of the biryani masala into the rice and this process of cooking is called ‘Dum’. To know if it is done, lift the lid and you should be able to see steam coming from the top part of rice. (Don’t expect smoke, it will be just a light streak of steam from here and there) and the rice on the top will be slightly curvy!!
Traditional method of Dum: make some dough with aatta and roll it into a long pipe. Place it over the circumference of the lid and seal the pot so that no air comes out.
Another easy method for Dum: Seal the lid with aluminium foil. - I do this.
6. You can also do the layering in an ovenproof vessel and place it in a preheated oven at a very low temperature for about 20-30 minutes for the final cooking. My mom does it this way, but I dont since I dont have an oven.
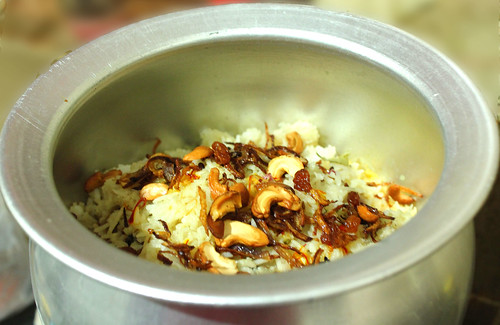
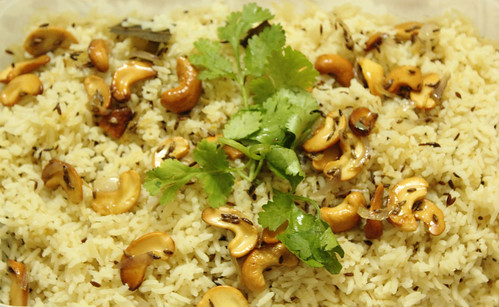
Just before serving, garnish with fried onions, cashews and raisins.
Note:
1.You can also sprinkle little of the fried onions while layering and leave the rest for garnishing. You may sprinkle it along with garam masala. This helps to bring out the flavour of fried onions into the rice. And it is real good too.
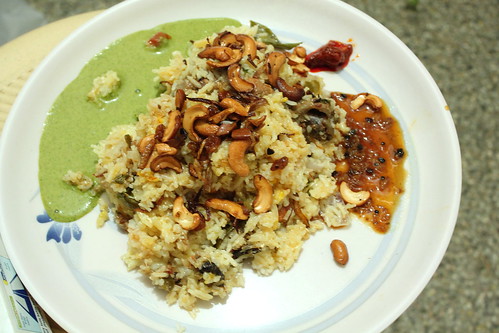
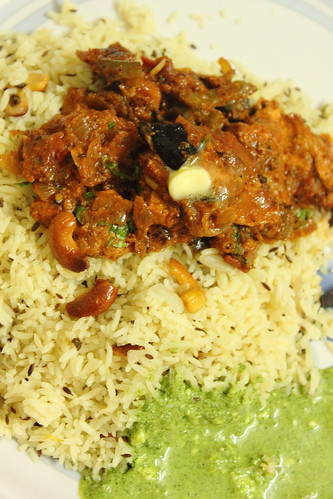
I serve it with some
inji curry and
coriander mint chutney mixed in yoghurt. My mom serves an easy salad made with carrots, cucumbers, tomatoes and onions mixed in yoghurt with salt and a pinch of sugar.
Pickle and South Indian fried Pappadums (pappad) is also a popular accompaniment.